HOLE #9 PAR 4 - 359M Course Guide Course Guide A par four with a drain on the right to catch whoever sices. The pond near teh green is a threat when taking the second shot if the tee off is not long enough. Three bunkers, two on the left, and one hell’s bunker...
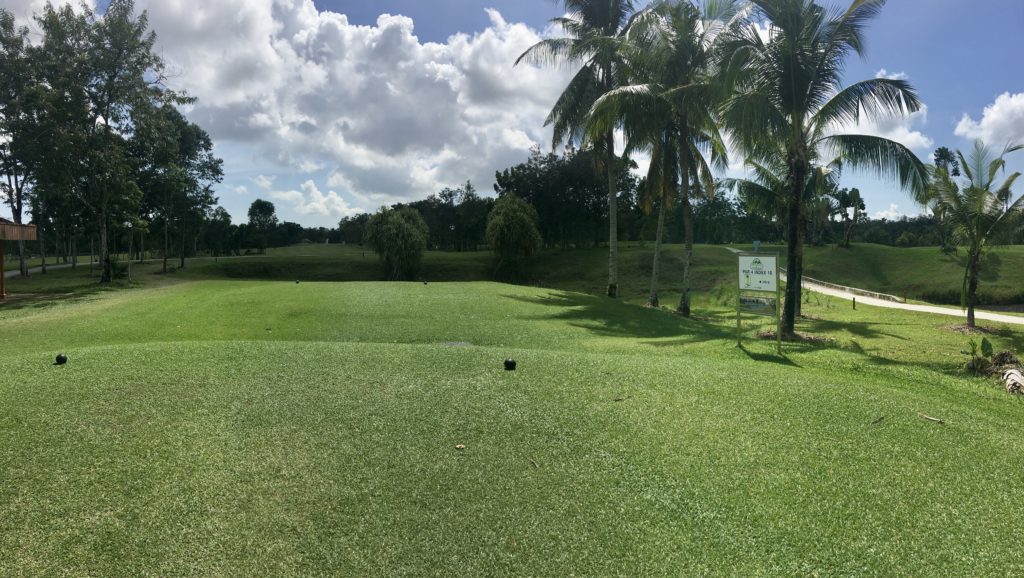
HOLE #8 PAR 4 - 322M Course Guide Course Guide A short par four with a small pond on the left at about 200m from the tee. The green is tightly guarded by four bunkers and a fairway bunker on the right. A good pitch is required to place the ball on the...
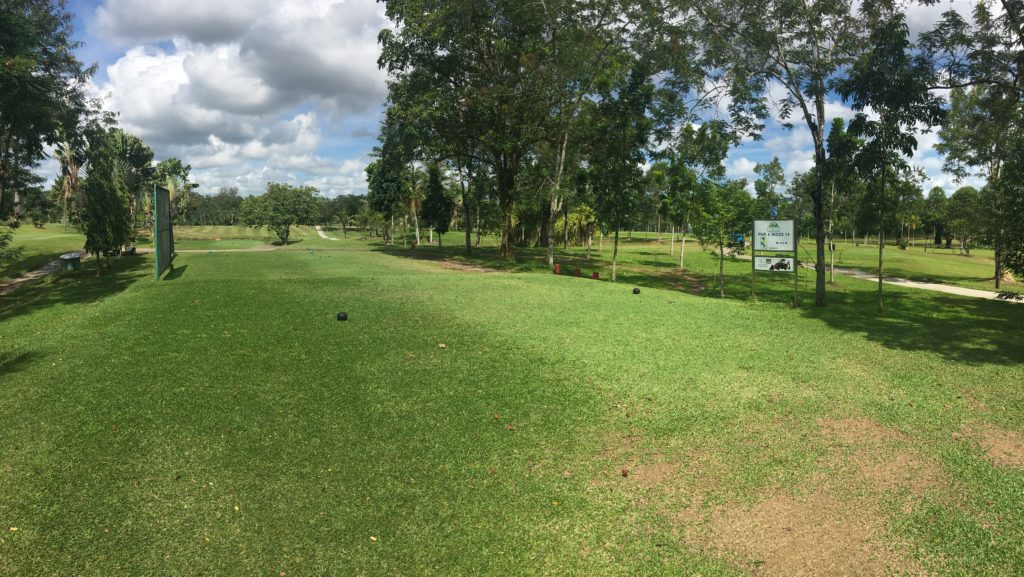
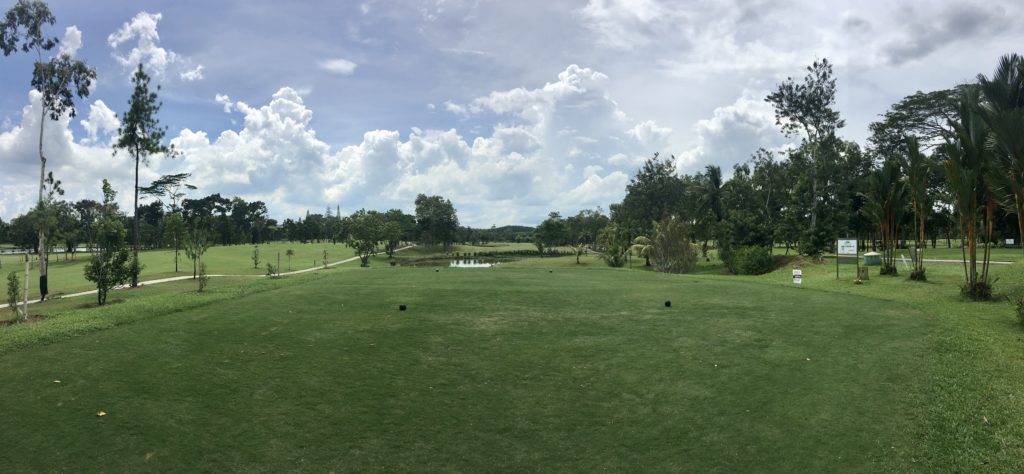
HOLE #7 PAR 4 - 349M Course Guide Course Guide A straight forward par four with a small ravine in front of the tee ground. One bunker is found on the left, another on the right, and one more at the...
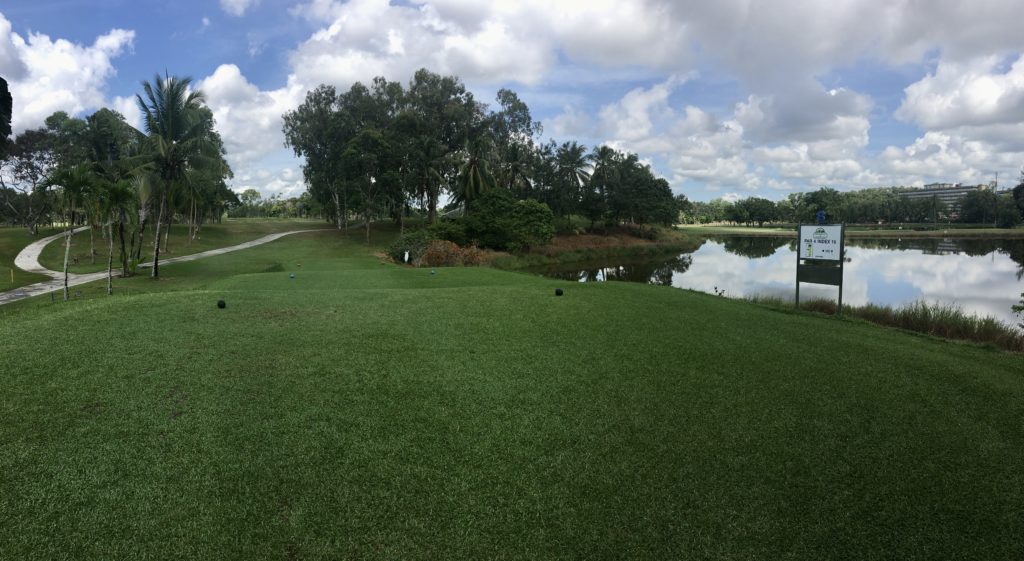
HOLE #3 PAR 4 - 319M Course Guide Course Guide A par four with a small ravine and a pond to cross for the tee shot. The green is guarded by four bunkers, and one smaller bunker further back on the right. A big bunker guards the rear of the green. A pond is found on...
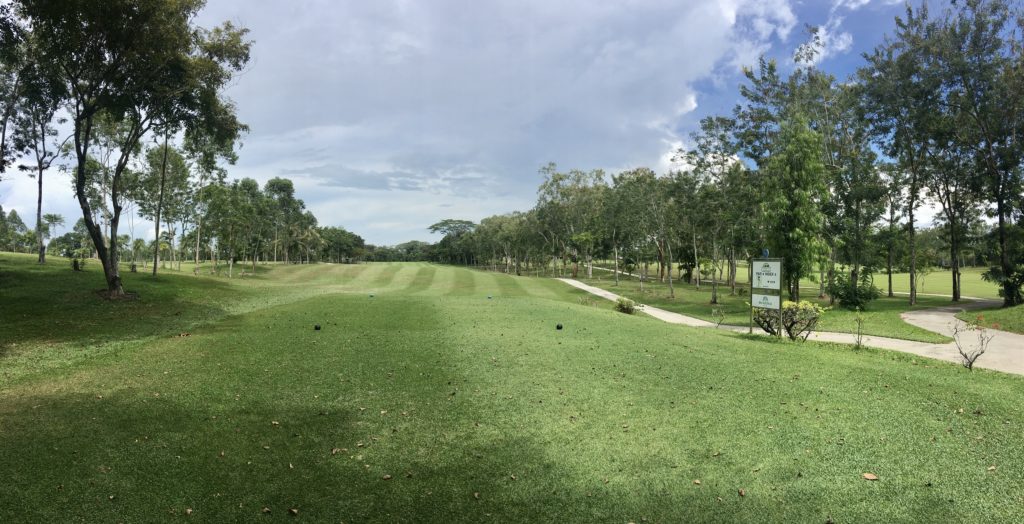
HOLE #1 PAR 4 - 358M Course Guide Course Guide For this par four a fairly good take off is required to cross a water hazard. The second shot is easier if the ball reaches or passes the 150m marker, otherwise it may have to be played from a downhill lie. A drain cuts...